


If you’ve finished reading the first part of the Roblox Pressure guide, I have some great news for you! While you’re now more familiar with the premise of the game, most of the nodes and special monsters, and the different stages of the game, there is still much more to cover. Ranging from different room types, chase sequences in the new-ish update, and game strategies for other monsters, this article can finally give you a comprehensive guide on how to consistently beat the game!
1) Additional Monsters/Specific Rooms
Although the last guide covered a wide variety of the most common monsters, there are still a few that a new player may struggle with. These monsters don’t consistently appear in each run of the game, but they still pose as dangerous threats.
The Bottomfeeder:
The Bottomfeeder is a relatively rare monster, only appearing in a sequence of specific rooms called the Dredge. Resembling a slug formed by a chain of shark heads eating each other, the Bottomfeeder is a water monster that can only appear in its dedicated sequence of water-submerged rooms. Once you step into the waters it resides in, it will chase you. If you’re caught, it will force you to play a minigame where you spam E and Q in order to fight it off, dealing 10 damage to you per second.
However, it has a big weakness in its movement. Although the Bottomfeeder is fast at gliding through the water, it is slow at turning, giving you time to run as long as you get out of its way as it charges straight forward. Additionally, the water-submerged rooms often have ledges that you can climb for momentary safety from the Bottomfeeder. But just remember, just because you’re in the Dredge rooms, it does not mean that other monsters cannot spawn. Anglers, Squiddles, and Candlebearers can spawn here. IDS Turrets can also appear and pose lethal dangers to you while trying to avoid the Bottomfeeder, so make sure to continue to keep watch of your surroundings so you don’t miss other sound and noise cues!
The Divine:
Another monster that appears in a special room type is the Divine. Living in the Oxygen Gardens of the Hadal Blacksite, the Divine are a type of grass monster that don’t immediately pose a threat to you, but can if you disturb their peace. Similar to Squiddles and Light, as long as you don’t step on the grassy portions of the room that they reside in, they won’t attack you. Sometimes, it’s impossible to avoid stepping on the grassy areas. In these cases, look out for the Divine, as they will attack you when your back is turned to them—similar to the Weeping Angels in Dr. Who! Again, other monsters can still spawn in the Oxygen Gardens, including Anglers, Squiddles, and those pesky locker monsters, so be sure to watch out for them too.
Candlebearers/Candlebrutes:
Candlebearers are big stone creatures that can spawn in dark rooms. As you navigate through the darkness, the Candlebearer slowly chases you in hopes of beating you into the ground. The main way to deal with these monsters is to shine a light source at them to freeze them in place. But don’t shine your light source for too long at them, or else they’ll become agitated, increasing their speed and strength.
Candlebrutes are exactly the same as Candlebearers, except that they are much larger. The Candlebrute will only spawn in a specific type of room—a large, dark warehouse where the player must find a keycard in order to enter the next room. However, the Candlebrute is different from the Candlebearer, in that shining a light at them will only slow down their movement, not completely stun them. This makes navigating around the warehouse with a stone creature chasing you quite hard, but as long as you keep moving and avoiding the punches of the Candlebrute, their mechanics are quite simple to deal with.
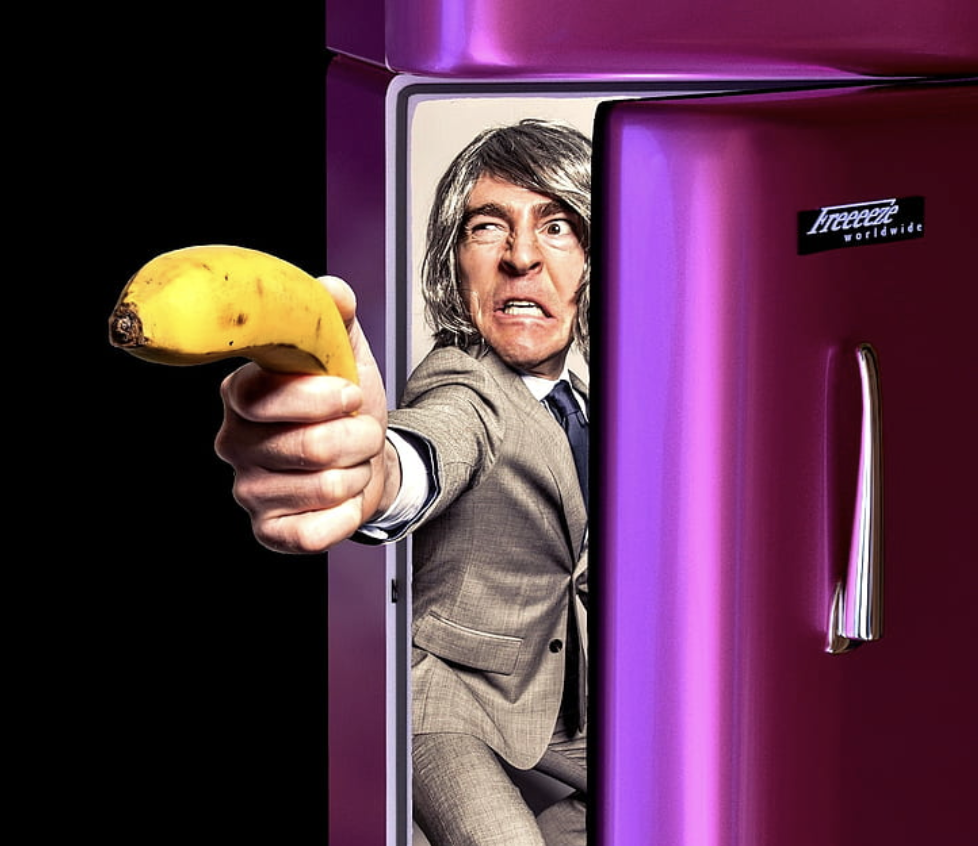
The Hanger:
The Hanger is a special type of monster that cannot be spawned unless you interact with it. In some drawers throughout the Hadal Blacksite, a gold and black revolver may spawn. If you pick it up, you will be forced into a minigame with the Hanger, which takes the form of a ghostly woman with red eyes. You’ll need to keep pressing the E key to fight her off. If you let her get too close to you before you can shoot her, she will stab you with her knife, instantly killing you. At first, beating the minigame may be overwhelming. But as long as you resist the urge to pick up the shiny, golden revolver, you won’t have to deal with the Hanger at all.
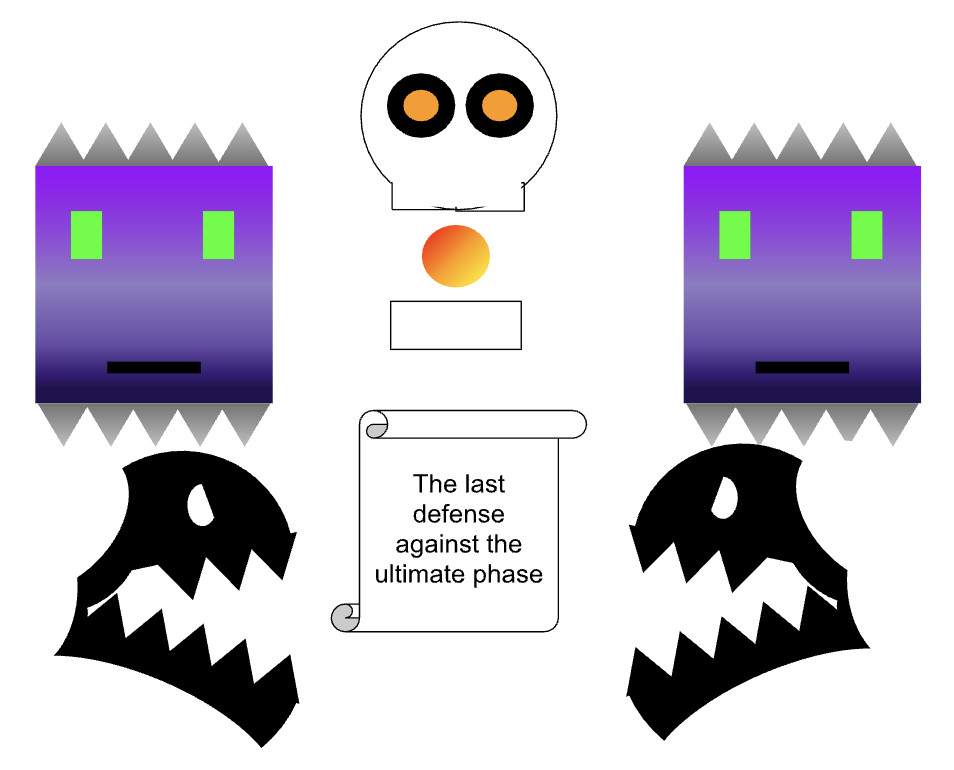
The Multi-Monster/A-60:
The Multi-Monster has similar mechanics to a node monster (like the common Anglers that simply rush through the room), but is still very different. Think of it as an easter egg in the game! Taking the form of a gory monster face, it will warn you of its arrival with a line of red text, usually saying, “Coming through.” After this, you only have 5 seconds to either get out of its line of sight or get into a locker. Despite being a special monster, it won’t deviate from its path like Pandemonium, and will follow a set path through the room like a regular Angler.
One tip for anticipating its arrival before getting the red text is to turn on Deaf Mode. In Deaf Mode, which can be turned on in the settings menu, your whole screen will turn slightly static or pixelated at its arrival, giving you extra cues beforehand. Although it’s a slight detail that may be easy to miss, it is nevertheless a helpful indicator.
2) Special Stages
Before the new update, the only special stages in the game were the two Searchlight encounters. However, the update added 2 new and unique stages: the Jetsuit Evaluation Course and the Abomination Chase Sequence.
Jetsuit Evaluation Course:
Woah, since when did Pressure get a hardcore parkour stage? Well, in the new update, Pressure added the Jetsuit Evaluation Course, a course where former employees could evaluate their parkour skills in the Hadal Blacksite before it was abandoned. After putting on a jetsuit, you gain new types of movement, such as jumping (double-jumping and dashing), sliding, swinging on bars, and walking on walls. During this stage, a firewall is activated behind you to encourage you to finish the parkour course quickly.
There aren’t really any tricks for getting passed the Jetsuit Evaluation Course, and you’ll eventually get better at it over time. However, there are some tips to speed up your movement. Dashing and sliding speed up your movement, allowing you to dash past much of the obstacle course. Additionally, if you fall, you can double-jump and dash to quickly get back onto a ledge.
Abomination Chase Sequence:
Pressure also added a new underwater chase sequence. You put on a special suit with a glider, and navigate through a series of pipes underground while being chased by a scary shark-looking monster. Throughout the sequence, you will need to react to turns and tunnel explosions quickly, watch out for sharp fans and steam pipes, and avoid the explosive mines in the open sections of the water. The Abomination monster will also periodically charge at you, which you will need to avoid. Whenever the glider-suit system warns you that the Abomination is approaching, swerve to the side so that you get out of the way of its attempt to catch you in its jaws. Once you complete the chase sequence and escape the pipes, you’ll take a set amount of damage, reducing your health to 1 hp if you weren’t previously at full health. However, there is a medkit right outside the room, so make sure to grab it and heal up before you continue on.
3) Lockerless Hiding Spaces– Tips and Tricks
In most cases, it’s actually easier not to hide in a locker whenever an Angler passes through (except for Pandemonium encounters). Although the previous guide covered the mechanics of the Angler and advised you to find a locker as quickly as possible, lockers and siderooms aren’t the only valid hiding spots in the game that guarantee your safety. As explained before, the typical node monsters follow a set path through each room. This means that as long as you can clear enough of a distance between yourself and the monster, you can actually hide in plain sight.
Of course, not every room has such a hiding spot. In rooms that are simply long corridors, L-shaped, or are simply large rectangular rooms, you need to find a locker or a separate sideroom. However, in rooms with multiple areas, like T-shaped rooms, you can simply hide in the section where the Angler does not pass through. It’s impossible to cover each and every safe spot in the game in one article, so you will have to experiment with this yourself. I’m sure that you’ll find more open areas to be safe-spots than you’d first imagine.
To further guarantee your safety in these types of hiding spots, try to cover as much of your player hitbox as you can. Hiding behind either a pillar, a shelf, or even crouching behind tables will serve as an additional safety measure. In general, it’s helpful to minimize the visibility of your character, no matter what monster is passing through.
4) Miscellaneous Tips
Keycards:
Every few rooms, a keycard will need to be found before the next room can be entered. Sometimes, it can be very straightforward. However, sometimes, it seems as if you have to check through a million different side rooms and drawers to find them. Of course, you could go through and open every single drawer to find it, but you don’t need to. Each keycard actually emits a low static noise whenever you’re standing near it, which can help you quickly identify its location. So instead of opening every locker, you can just walk near each desk while listening for that low static noise.
Imaginary Friends:
Similar to the Hanger, other devices can spawn in drawers, too. By picking up either a blue or red toy remote controller, you can summon a monster called the Imaginary Friend. Despite being a monster, it is completely harmless and will never attack you. It can even give you a heads-up whenever a node monster is coming, which is especially helpful for A-60 and node monsters like Pinkie. It does try to jump-scare you, though, if you haven’t looked at it in a long time.
Conveyor Belts:
In the first Searchlights encounter, many players forget that Pressure added conveyor belts to the warehouse. You can even switch the direction of the conveyor belt at your own discretion and use it to zip through the warehouse in mere seconds. The warehouse has four conveyor belts, two that run through widthwise and two that run through lengthwise. Once you start the encounter, it’s most convenient to switch the direction of the conveyor belt on the left side and use it to start on the other side of the entrance, but this is simply personal preference.
Still, Pressure can be a very unpredictable game. There’s no set guide on how to get the easiest and smoothest run, or even how to consistently beat it. But I’m sure that the more you play, and the more familiar you get with all the different monsters, the more fun this game becomes!