


Imagine you’re a criminal tasked with retrieving a crystal from an abandoned facility in exchange for your freedom. This is the premise of the Roblox game Pressure—a suspense-based horror game where you, an “Expendable,” travel through a series of rooms and boss stages to escape an area called the Hadal Blacksite. Sounds simple, right? Well, for first-timers, it can be anything but. With dozens of different monsters aiming to thwart your efforts to retrieve the crystal from this shady, infested facility, it can be hard keeping track of what to do and what to look out for. So, if you’ve been struggling with beating the game, we’ve prepared the perfect guide for you!
1) Node Monsters
The most common monsters you will encounter are the Angler and its variants. Each represents an anglerfish or other sea animal, but have grotesque and terrifying forms. There are a total of five different variants, each with their own special mechanics, and all will instantly kill you if you’re not hiding. Anglers follow a specific path through each room, either approaching from the previous room or from the next. After rushing through the room, they will cause all the power to go out, leaving the room entirely dark.
| Clues of Arrival | Hiding Tips | |
| Angler | The lights of the current room will flicker.
There will be a sound cue, as if something were rushing towards you. |
Locate a locker and wait until the Angler’s sounds are very close.
If there is no locker, get out of its path, either in a sideroom or a corner. |
| Blitz | The lights of the current room will flicker twice, or will continue to flicker for a longer time than usual. | Hide in the closest locker available.
If there is no locker, get out of its path, either in a sideroom or a corner. |
| Pinkie | There are NO visual cues for Pinkie’s arrival.
Listen for a high-pitched screeching noise, indicating that she will be passing through soon. |
Hide in a locker, but wait until she seems close, as her arrival takes longer in comparison to other variants.
If there is no locker, get out of its path, either in a sideroom or a corner. |
| Froger | The lights of the room will flicker.
Froger’s sound cue is of a much lower pitch than the normal angler’s. |
Locate a locker and wait until Froger’s sounds are very close, as Froger will rebound.
|
| Chainsmoker | The lights of the room will flicker.
Chainsmoker’s arrival is accompanied by the sounds of clanking chains. |
Because Chainsmoker is the slowest variant, locate a locker and wait.
Get into the locker at the LAST possible moment, so that you don’t get kicked out as he passes through. |
If you’re still scared of these node monsters, remember these details:
- Anglers cannot spawn in a room that is already dark.
- Anglers can only spawn when you are in a room with valid hiding spaces, or if you were previously in a room with valid hiding spaces.
- Angler spawns run on a timer system, where opening doors speeds the timer up, meaning you can roughly predict when the next Angler will come.
2) Special Monsters
In addition to the Angler and its variants, there are also many special monsters, each with their own interesting mechanics.
Pandemonium:
Pandemonium is by FAR the most dangerous of the monsters that you will face. It takes the appearance of a brown, distorted mound of flesh, with a cluster of eyes inside its mouth and threatening rows of teeth. For its mechanics, although they work similarly to the regular node monsters, there are some key differences.
The regular node monsters follow a set path from the previous room to the next room. As long as you’re able to get out of this path, you’re safe. However, with Pandemonium, if you are seen by it at any point, it will become aggravated and deviate from its original path to attack you. If you are hiding in a locker as Pandemonium passes through, it will continuously ram its body against the locker, forcing you to play a 40-second minigame where you must keep your cursor in the center.
In order to successfully survive Pandemonium without playing the minigame, you must be COMPLETELY out of sight, either by hiding inside a vent or a sideroom. Avoid hiding in a corner like you would with the regular Angler and variants, as it will spot you. Remember, Pandemonium’s vision is much greater than other monsters, and if it spots you, it will not stop in its pursuit to kill you if you do not immediately get into a locker and play the minigame.
Squiddles:
Squiddles are floating black creatures that resemble squids. They spawn in dark rooms, typically after an Angler rushes through. Unless you shine a light source at them for a prolonged period of time, they are not hostile monsters. However, if you do shine a light at it, it will jumpscare you and deal 25 damage, or one fourth of your starting health.
Eyefestation:
Eyefestation is a shark-like creature with many large, green eyes. It will spawn in rooms with large windows connected to open water and draw your camera towards its eyes. As you make eye contact with the shark, it loses around 5-10 health per second. Once you open the door to the next room, Eyefestation will promptly leave.
Sometimes, rooms with Eyefestation will be locked for 15 seconds while Eyefestation is in its enraged state. While enraged, it will pull your camera much more strongly, making it difficult to resist its pull for the duration of the encounter.
Puddles of Void Mass:
As you’ve probably already figured out, the main idea of Pressure is to hide in a locker when a monster comes. However, you also need to make sure you don’t get into a locker with a Puddle of Void Mass. These monsters inhabit lockers and can be identified by their glowing eyes in the top slits of the locker. In singleplayer, getting into a locker with a monster inside will immediately kill you, ending the run. But in multiplayer, a teammate can rescue you by pulling you out before all your health is drained. So, when you’re panicking to find a hiding spot after the lights start flickering, remember to make sure to double-check whether your locker is already being used by someone (or something) else.
Good People:
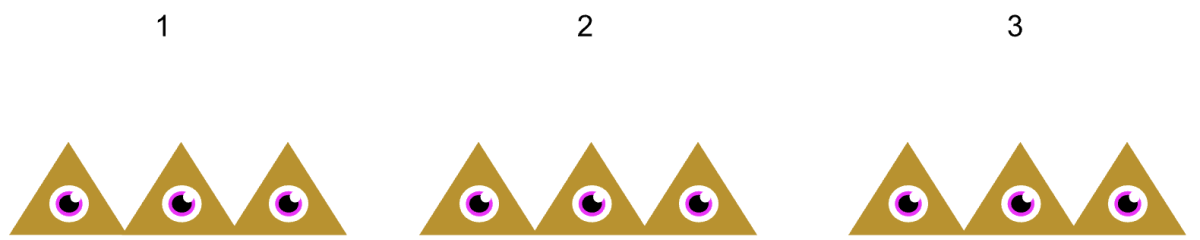
Good People might be one of the most annoying monsters in the game. In some rooms, there will be multiple doors, some fake and only one correct. Behind those fake doors lies the Good People, a mass of red, spiky flesh with an eerie white mask. Although it may seem like the strategy is to just guess the correct door and pray for the best, there are some key signs to watch for in order to tell if a door is fake.
- In a dark room, if the sign showing the number next to the door is glowing, it is a fake door. If a room is dark, that means the power has been cut out. Because the number plates are powered by electricity, in a dark room, the correct number plate must also be out, and not glowing.
- Listen for sound cues. Get close to the wall next to the door and listen for heavy breathing and growling. If there are such sounds, then the Good People is right behind that door.
- Watch the door number plates for sparks. If the number plate sparks, it is a fake door.
- Check for a static effect in the background of the number plate. The real door should have a completely black background, while a fake door will have a static effect that jumps around.
Opening a fake door won’t automatically kill you. After dealing 55 damage, the fake door will lock shut and cannot be opened again. Additionally, some rooms will have multiple fake doors, not just one, so make sure to carefully observe the doors to identify the correct one.
Wall Dwellers:
Actually, Good People is not the most annoying monster in the game. The monster that 100% takes the cake on that is the Wall Dweller. They look like humanoid dolls, but are completely flat on one side. They sneak up from behind you and will instantly kill you. Their presence is indicated mainly by sound, as you will hear their distinct footsteps following behind you. In order to scare away a Wall Dweller, you must simply look at it, which will freeze it in its tracks. Be careful though, as sometimes Wall Dwellers can return.
These node monsters are essentially all the monsters you will face in the game, besides the Searchlights in the Grand Encounter stages. Their mechanics stay consistent for the first 100 doors, but change slightly after reaching a portion of the facility called The Ridge. After you retrieve the crystal, monsters will spawn much more frequently, and the main power source of the facility will be cut, meaning there are NO more flickering lights to indicate incoming monsters. Instead, you must rely on the different sound cues in order to hide appropriately. Fortunately, The Ridge is only around 13-15 rooms long. Once you successfully finish this sequence of rooms, you then arrive at the final boss stage.
3) Boss Stages
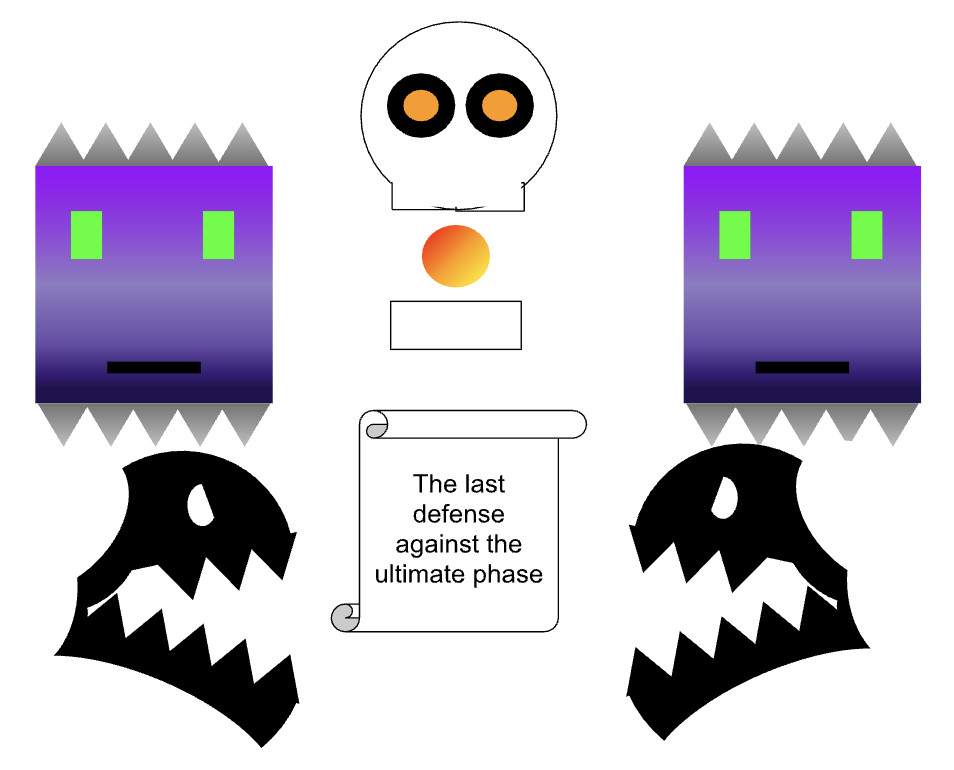
Searchlights Grand Encounter:
Around the midpoint of the first 100 doors, you will need to repair various power generators in a warehouse while avoiding a Searchlight monster. Searchlights are massive, floating/swimming creatures with four large hooks dangling from their bodies. Whenever a player stumbles into its line of sight, which is marked by its glowing eyes, it will shoot out a hook to drag you into its mouth. Maneuvering through the warehouse, you must fix 5 generators (in singleplayer) in order to advance to the rest of the rooms.
Take this stage slowly and steadily. Although there are many hiding spots throughout the warehouse, such as lockers or under crates, do not take big risks. Once the generators are fixed, you can make your way to the gates with the green lights and escape the warehouse.
Searchlights Final Encounter (Final stage):
After beating The Ridge, you will have to fix 7 generators in the open sea. At first, one Searchlight will spawn right above you and start the encounter. As you fix more generators, more Searchlights (up to 4) will spawn. Again, make sure to take this stage very carefully, as being spotted by one Searchlight will end your entire run. Once you fix all 7 generators, you must swim your way to the middle, which will be lit up by a beacon of light, and flip a switch. Then, swim back to the cave you entered from. There will be an additional sequence where you must keep swimming through pipes and flipping on switches, as more Searchlights spawn directly above you. Only after flipping all the switches can you leave the large pipe and make your way out of the underwater section.
Of course, although this guide has many details and tips for you to get your first Pressure win, you are definitely going to die many times. Sometimes, you might just get unlucky; there may be 3 different monsters coming after you when an Angler rushes through, or you may accidentally miss sound or audio cues and get jumpscared by the monsters. And sometimes, you might be playing with friends, and they steal your locker from right under your feet. Pressure is a difficult game with many things to learn and adapt to, but it’s not impossible. We hope that after reading this article, you too can enjoy this wonderful game and start winning!